Today is Small Business Saturday, the day promoted to shop small and local mom and pop shops.
It's easy, find a mom and pop shop local to you, or shop small shops on-line:
There are many small businesses on ETSY, our farm is there too :) Oak Haven Alpacas:
What sort of things do we have for sale?
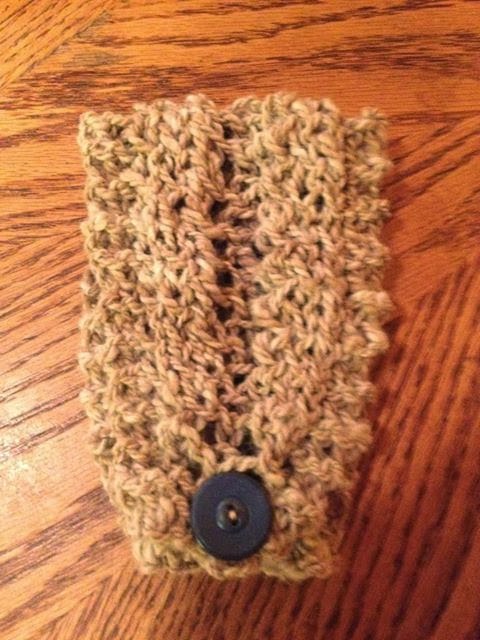
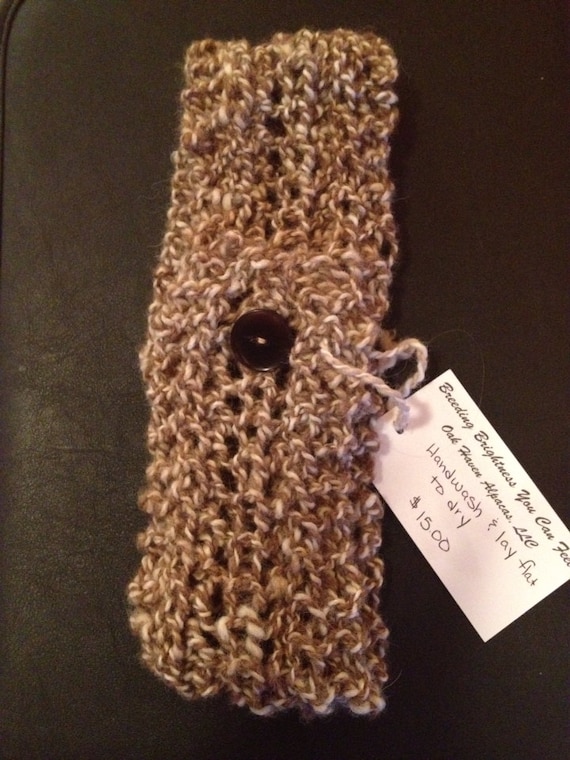
Well, a variety. We have hand knit product we knit out of yarn I spun on our farm from fiber off of our alpacas. We have home spun yarn, and raw alpaca fiber.
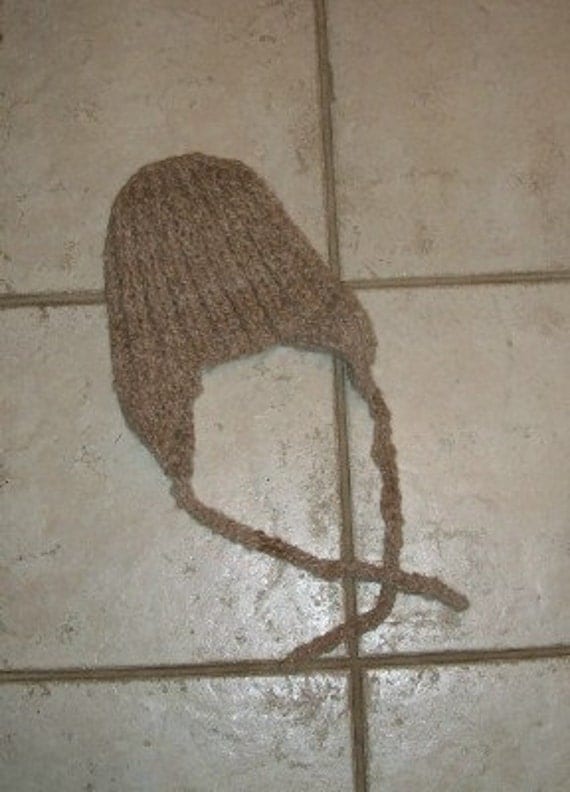
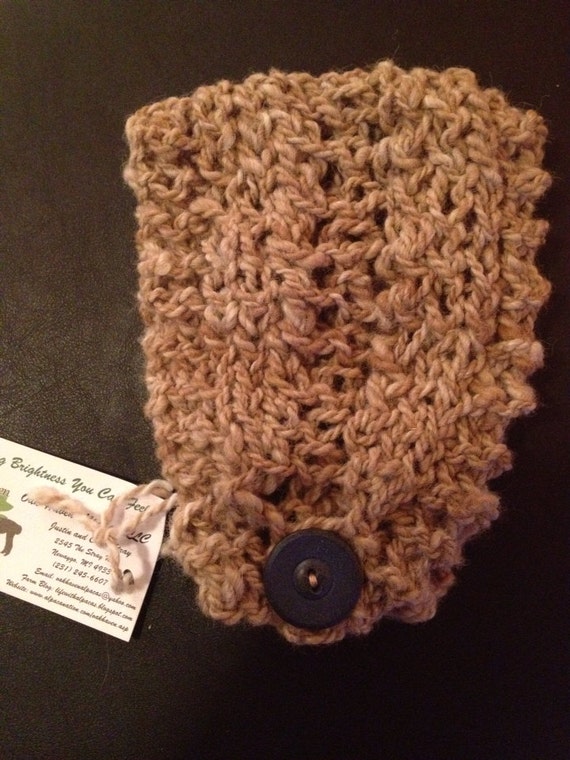
For example, here is an ear flap hat link to the ETSY page), I knit out of yarn I spun here at our farm off of one of our award winning alpacas, Tehya. She has always been one of my favorite girls, I've known her since the day she was born:
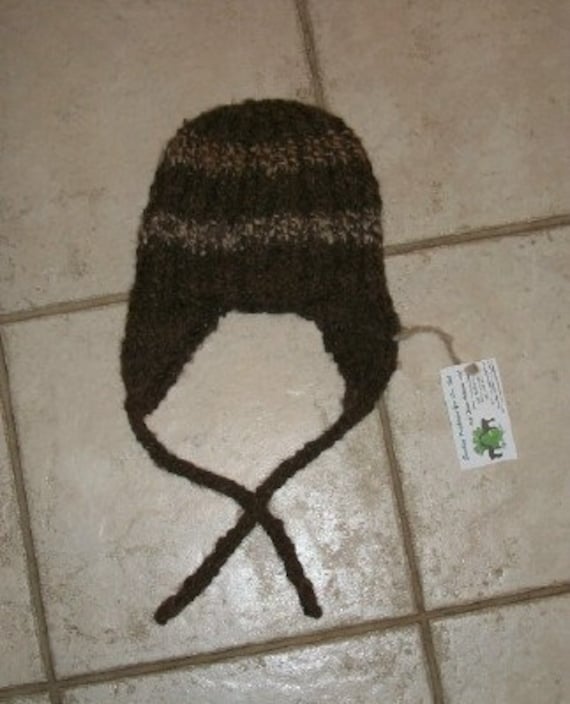
There is this ear flap hat:
This one was made on our farm also. The dark color came off of a male named Greyt Exxpectations. The lighter color in the stripe is from Tehya. Each hand made product has a story, a history.
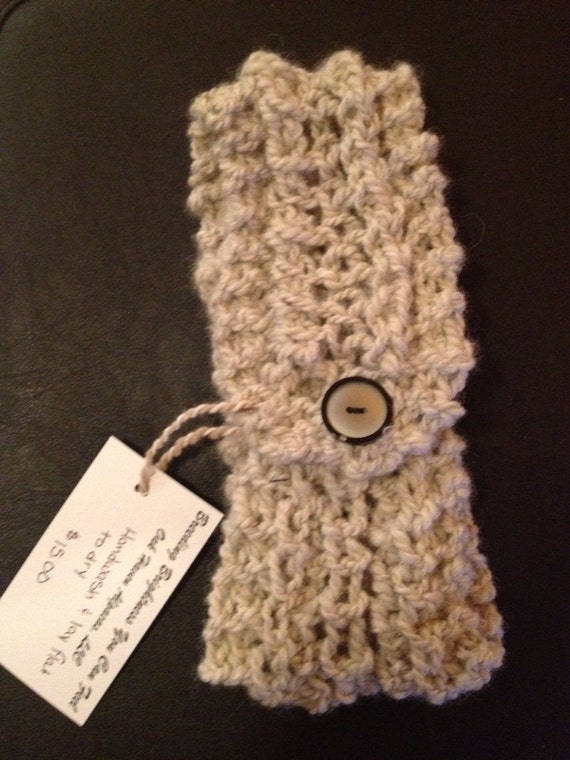
In my last post I showed several of our headbands / neck warmers / ear muffs:
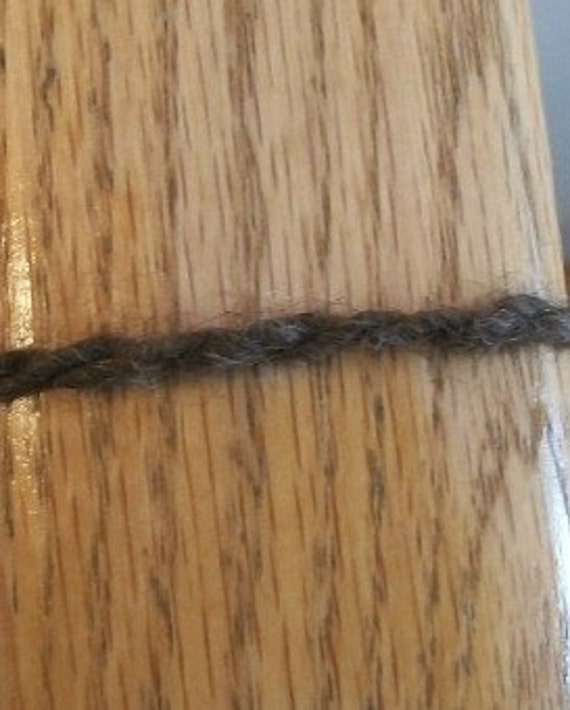
Home spun yarn sells faster than I can produce it (and honestly, J and I knit up what I haven't sold). So any home spun yarn (link to order page) needs to be ordered for purchase:
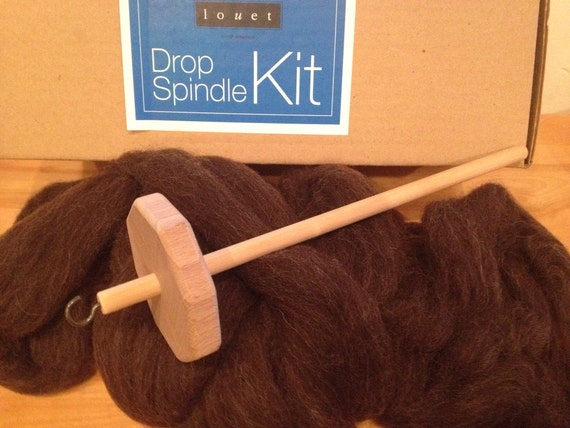
We also have some fiber arts tools for sale, such as a drop spindle:
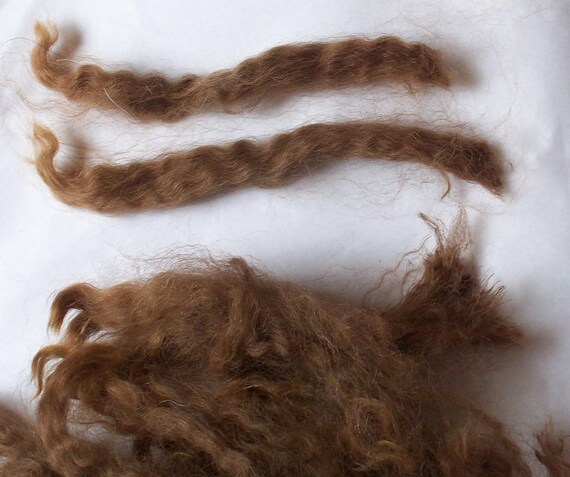
And was have lots of raw alpaca fiber for sale, for example:
Saturday, November 30, 2013
Wednesday, November 27, 2013
Headbands, earmuffs, and neck warmers too
These can be worn as a headband, as a neck warmer, and around your ears to keep the wind away! It's a 3 in 1 multi-winter accessory.
and this one:
Here they are for sale at our ETSY farm shop:
multi-color one
Fawn wider one
Cream color one
and this one:
Here they are for sale at our ETSY farm shop:
multi-color one
Fawn wider one
Cream color one
Monday, November 25, 2013
Always tax time
I prepare all year for tax time:
When we started our farm, we also started working with an accountant for our taxes. It has been a life saver!
The first year was a lot of work because we were not prepared for what all we needed to do. At tax time it was a rush to organize.
That first year I learned about each category we had on our taxes (such as "feed" for the animals, "show costs" and so forth). Each January at the beginning of a new year I write on envelopes for each category, then whenever I get a receipt, I put it in the right envelope. At tax time we only have to add it up! Easy!!!
This way we get our taxes done fast and are done with it before many people even start on theirs.
Saturday, November 23, 2013
Farm Life
Not everyone has a farm life like this:
Yep, that's half of a squirrel - in my dinning room!!!!
Those that are friends with me on Facebook will remember my story about this a couple weeks ago. The day this happened I screamed and screamed! I forgot about this picture until I was going through pictures on my phone to delete some and came across this and thought, yeah, that;s farm life.
Our house dog, Shadow, ran into the house with this in his mouth. When I screamed, he dropped it.
The funny part is that I was watching what it was, wondering if the animal was still alive. I was almost thankful to see half a critter LOL
Zack went outside to get our poop scooper and I scooped it up and disposed of it. Ah, life in the country.
Friday, November 22, 2013
That fading fawn
A couple weeks ago I was showing how I prepare fading fawn fiber for processing.
This is how it spins up:
This is how it spins up:
Here I did a two color ply (fawn in one strand, white for the other):
I often make a small two color ply yarn as a contrast to go along with the main skein. That way I can knit a different color edge or stripe in my project.
Here is the fading fawn:
Wednesday, November 20, 2013
Monday, November 18, 2013
I want a baby
These ewes are supposed to be producing babies for me. We had our twins last spring, but nothing since.
This one looks ready to pop though:
Sunday, November 17, 2013
A scarf
I thought this was the last of a yarn I was working on for another farm but then I found another small ball hidden in one of my knitting bags.
So, I knit a quick headband:
Friday, November 15, 2013
Dyed Ear Flap Hat
I was so excited I posted the finished hat before showing these steps.
It's fun knitting with unnatural colors for a change!
Ear flaps done:
Thursday, November 14, 2013
Wednesday, November 13, 2013
Tuesday, November 12, 2013
Sunday, November 10, 2013
The other dyed yarn
So I had two skeins of yarn that I was dying, each in a different pan.
When I got to the point where all the dye was absorbed, I was disappointed that the yarn wasn't more blue.
So, in one of the pans, I put drops of blue dye straight from the bottle:
When I got to the point where all the dye was absorbed, I was disappointed that the yarn wasn't more blue.
So, in one of the pans, I put drops of blue dye straight from the bottle:
It didn't stay spotted, as soon as I baked it for 10 minutes then flipped it over, the spots were gone.
I just kept baking it, checking every 10 minutes until all the due was absorbed (water in the bottom of the pan was clear).
I let it sit out to cool.
As soon as it was cool to the touch I put it in a cool water and vinegar soak:
The extra dye did darken the color. Once both these skeins are dry I will show them off next to each other for comparison.
Saturday, November 9, 2013
The dying project
So I left off my last post with the yarn and dye headed to the oven for a bake and set.
I had the oven at 285*
The yarn was in a glass dish (having been pre-soaked in vinegar), with the frozen dye on top:
After the frozen dye lumps melted, I took it out of the oven and flipped the yarn over (that way all sides can soak it up). Here it is, mid bake:
I read you can tell the yarn is done when the liquid in the pan is clear. See my hand through the glass pan (there is a little water in there):
I was impressed that no blue dye seeped out into the water.
I squeezed this out and hung it up to dry (this time in the shower because it was pretty drippy wet still).
In a following post I will show the finish product, the dry yarn :)
I had the oven at 285*
The yarn was in a glass dish (having been pre-soaked in vinegar), with the frozen dye on top:
After the frozen dye lumps melted, I took it out of the oven and flipped the yarn over (that way all sides can soak it up). Here it is, mid bake:
I read you can tell the yarn is done when the liquid in the pan is clear. See my hand through the glass pan (there is a little water in there):
So I moved the pan into the sink, and drained the left over water. The yarn was hot! Too hot to touch so I let it sit there for a bit:
Once the yarn was cool enough to touch, I put it in a pan with water and vinegar (not sure if you need to do this but supposedly vinegar will set dye). Soak in vinegar to set:
I was impressed that no blue dye seeped out into the water.
I squeezed this out and hung it up to dry (this time in the shower because it was pretty drippy wet still).
In a following post I will show the finish product, the dry yarn :)
Thursday, November 7, 2013
Dying for a change
Up to this point I haven't dyed yarn. I decided when we start our venture into alpacas and fiber and all that, that there was so much to do and learn that I wasn't going to get into dying. Natural colors are my thing.
Well, there is a time and place for everything and I decided to do something.
I read this blog post about dying with Kool Aid. I didn't use Kool Aid, instead I bought some food coloring (I wanted blue and I couldn't find a good blue Kool Aid color).
I didn't have an ice cube tray (these days with automatic ice makers I imagine I'm not the only one without them).
So I used some zip lock containers instead. I filled them with water, put different amounts of color drops in them:
Many of them were looking very dark, so I made a couple more lighter ones. I really want a variation of color in the yarn.
According to the other blog it should bake for about an hour. I was still waiting for the ice to finish melting and had to make dinner, so this is where I will end this blog post.
In my next post I'll show how I finished this - and if it turned out or not :)
Well, there is a time and place for everything and I decided to do something.
I read this blog post about dying with Kool Aid. I didn't use Kool Aid, instead I bought some food coloring (I wanted blue and I couldn't find a good blue Kool Aid color).
I didn't have an ice cube tray (these days with automatic ice makers I imagine I'm not the only one without them).
So I used some zip lock containers instead. I filled them with water, put different amounts of color drops in them:
I put them in the freezer to freeze.
I then took my home spun yarn that I had already spun, washed and was hung dry.
I put the yarn in a mixture of 2 cups of white vinegar and 5 cups of cool water, and let it sit for 30 minutes (I read this is necessary to prime the yarn to absorb color). Of note, I read this only works on natural yarn (cotton or animal fibers).
After I soaked the yarn for 30 minutes in the vinegar and water, I think squeezed it out, and put it (still damp) into a glass pan.
I put the frozen dyed water on top:
The blog post I linked to shows that you can do this in the sun, let it sit outside in the sunshine. Well, we have a shortage of sunshine so I opted for the oven.
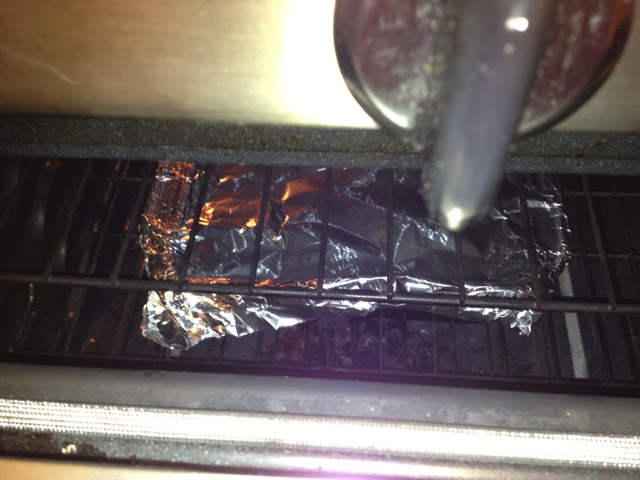
I put tin foil over the top of the glass pans, and had the oven on 285*
According to the other blog it should bake for about an hour. I was still waiting for the ice to finish melting and had to make dinner, so this is where I will end this blog post.
In my next post I'll show how I finished this - and if it turned out or not :)
Tuesday, November 5, 2013
Spinning fading fawn
Here's the thing with fading fawn fiber: if you send it to a mill or card it up without forethought, all those various shades of fawn will blend together = one color. I have plenty of alpaca blankets that I could spin into yarn that are one solid color. They are beautiful and all, but I love, I LOVE, the various shades in a yarn. And with fading fawn, you can do that without using any dye. All natural.
So when I look at a fading fawn blanket:
I separate out areas of the same color, and I flick them into their own little cloud. I end up with a basket of small, different color clouds.
Then I spin those into yarn:
That yarn can create products with variegated colors. Here is a hat made out of Tehya's fading fawn fiber that is for sale on our farm's Oak Haven Alpaca's ETSY shop:
Subscribe to:
Comments (Atom)


